Before placing a bulk order, buyers should test a digital night vision monocular carefully.
Product photos and specification sheets are useful, but they cannot replace real sample testing. A proper sample test helps buyers understand image quality, usability, accessory compatibility, packaging, and supplier support before making a larger purchasing decision.
This guide explains how dealers, distributors, brand owners, and OEM/ODM buyers can test a digital night vision monocular before bulk orders.
Why Sample Testing Matters Before Bulk Orders
A digital night vision monocular is a visual product. The real user experience depends on more than one specification number.
Buyers should test the sample because they need to confirm:
- Real low-light imaging performance
- Image smoothness during movement
- IR illumination effect
- 1x viewing comfort
- Recording quality
- WiFi transmission stability
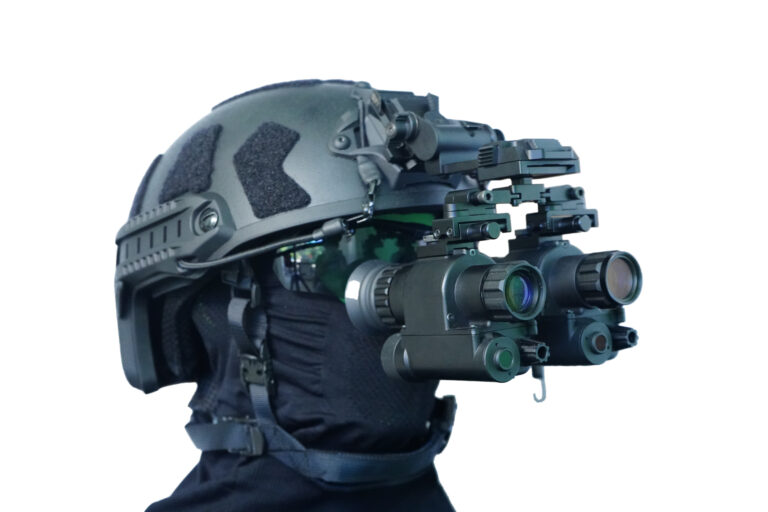
- Helmet-mounted usability
- Accessory compatibility
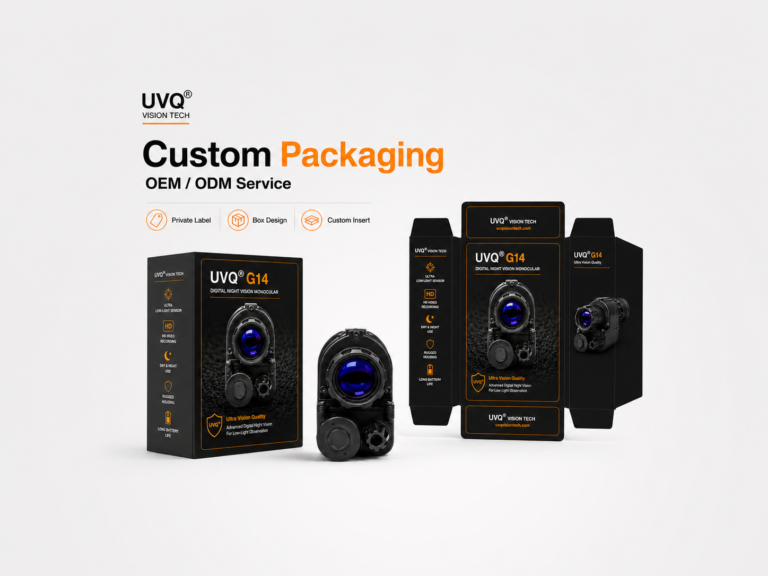
- Packaging quality
- Supplier communication and support
For B2B buyers, sample testing is not only about checking whether the device works. It is also about checking whether the product can be sold, demonstrated, supported, and scaled.
Start With the Product Specification Sheet
Before testing the sample, buyers should review the product specification sheet.
The specification sheet gives the technical baseline for the test. Buyers should check whether the sample matches the information provided by the supplier.
Important specifications include:
- Sensor type and sensor size
- Lens specification
- Refresh rate
- Base magnification
- Digital zoom options
- IR support
- Recording function
- WiFi transmission
- Storage capacity
- USB data transfer
- Waterproof rating
- Body weight and complete setup weight
- Mounting compatibility
If a supplier cannot provide clear specifications, buyers should be cautious before placing a larger order.
Test Real Low-Light Imaging First
Low-light imaging is the core of a digital night vision monocular.
Buyers should test the device in real low-light environments instead of only checking it indoors under controlled lighting.
Useful test scenes include:
- Outdoor low-light street or yard
- Park or open field at night
- Tree line or forest edge
- Indoor dark room
- Scene with mixed light sources
- Scene with moving objects
During the test, buyers should check image clarity, brightness, noise level, detail, and whether the image remains usable in practical conditions.
Compare IR On and IR Off Performance
IR illumination can help digital night vision devices work in darker environments.
Buyers should test the device with IR turned off first, then compare it with IR turned on.
This helps answer several important questions:
- How well does the device perform under available light?
- How much does IR improve visibility?
- Does the IR beam create uneven brightness?
- Is the IR control easy to operate?
- Does IR affect battery consumption?
- Is the image still clear with IR enabled?
A clear IR on/off comparison gives buyers a better understanding of the product’s real working range.
Check Image Smoothness During Movement
A digital night vision monocular should not only provide a bright image. It should also feel smooth during movement.
Buyers should test the device while slowly scanning left and right, walking carefully, and moving between near and far objects.
During this test, buyers should check:
- Image delay
- Motion blur
- Screen smoothness
- Viewing comfort
- Stability during scanning
- Comfort during helmet-mounted use
Refresh rate can affect the viewing experience, but real movement footage is still necessary to confirm actual smoothness.
Evaluate 1x Viewing Comfort
1x base magnification is important for many digital night vision monocular applications.
Buyers should check whether the device provides a natural viewing scale for outdoor observation and helmet-mounted use.
During the test, buyers should evaluate:
- Whether the viewing scale feels natural
- Whether nearby surroundings are easy to observe
- Whether scanning feels comfortable
- Whether movement creates discomfort
- Whether digital zoom is useful for closer inspection
High magnification may sound attractive, but 1x base viewing is often more practical for general observation and wearable configurations.
Test Video Recording Quality
Video recording is one of the useful advantages of digital night vision.
Buyers should record several short test videos during sample evaluation.
Useful recording tests include:
- Outdoor low-light recording
- IR on/off comparison recording
- Movement and scanning recording
- Near and far object recording
- Helmet-mounted recording
- Indoor dark-room recording
After recording, buyers should review the video files on another device to check clarity, file stability, image smoothness, and whether the recorded result matches the live viewing experience.
Test WiFi Transmission
WiFi transmission can be valuable for product demonstrations and sample testing.
Instead of only one person looking through the monocular, WiFi transmission allows the image to be viewed on a compatible mobile device.
Buyers should test:
- Connection process
- Mobile device compatibility
- Connection stability
- Image delay
- Image quality on the mobile screen
- Usefulness during demonstration
- Ease of setup for new users
For dealers and distributors, a stable WiFi demonstration can make the product easier to explain to customers.
Check Helmet-Mounted Usability
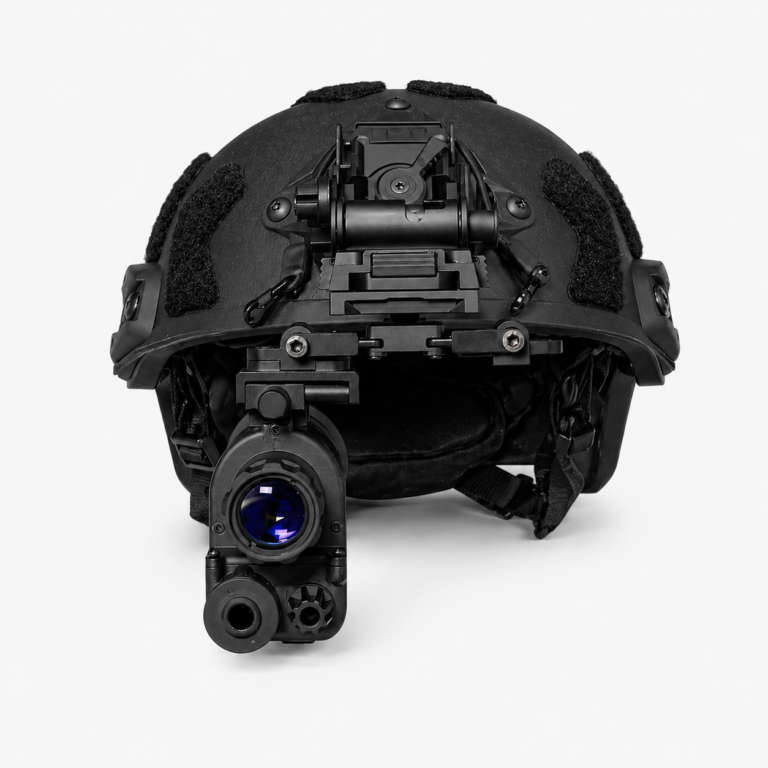
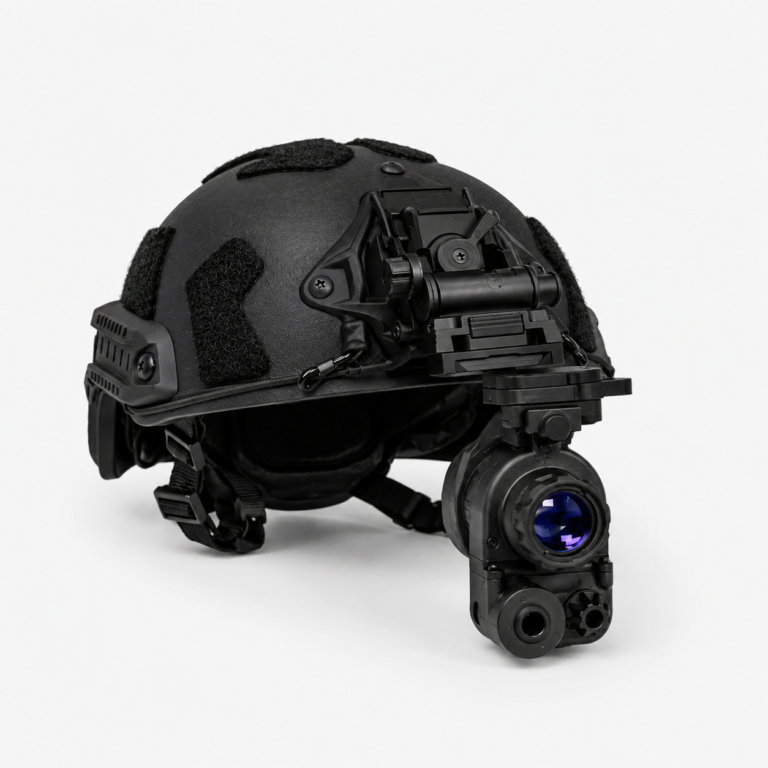
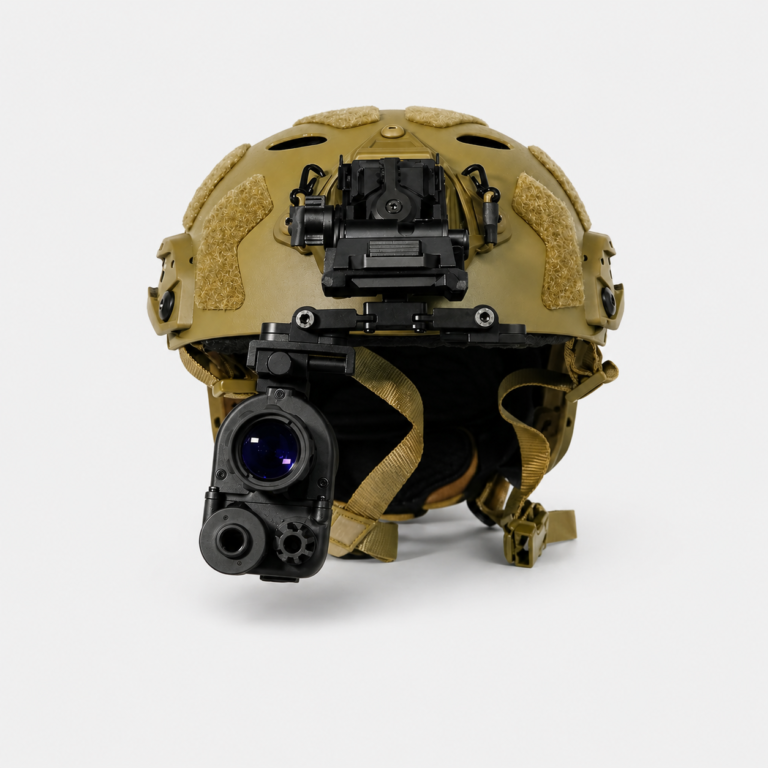
If the digital night vision monocular supports helmet-mounted use, buyers should test the complete setup instead of only testing the device by hand.
A helmet-mounted test should check:
- Mounting stability
- Flip-up function
- Viewing position
- Adjustment range
- Front-mounted weight
- Comfort during longer use
- Compatibility with mounting accessories
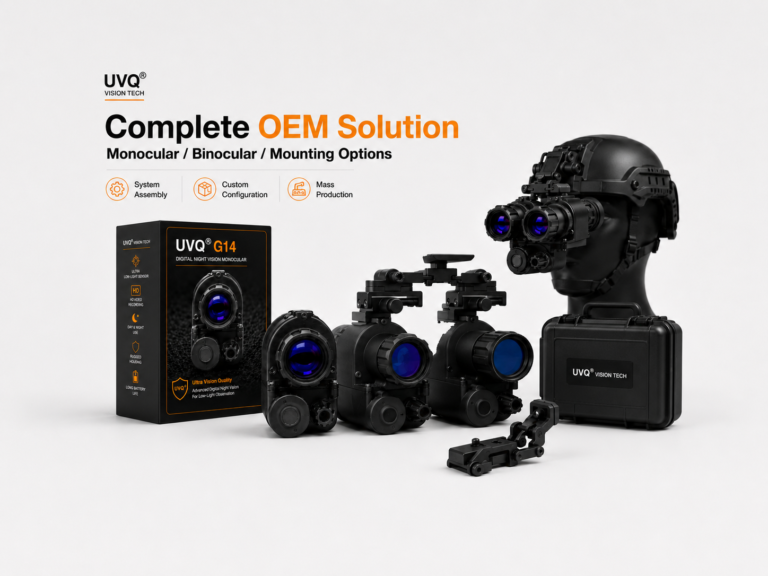
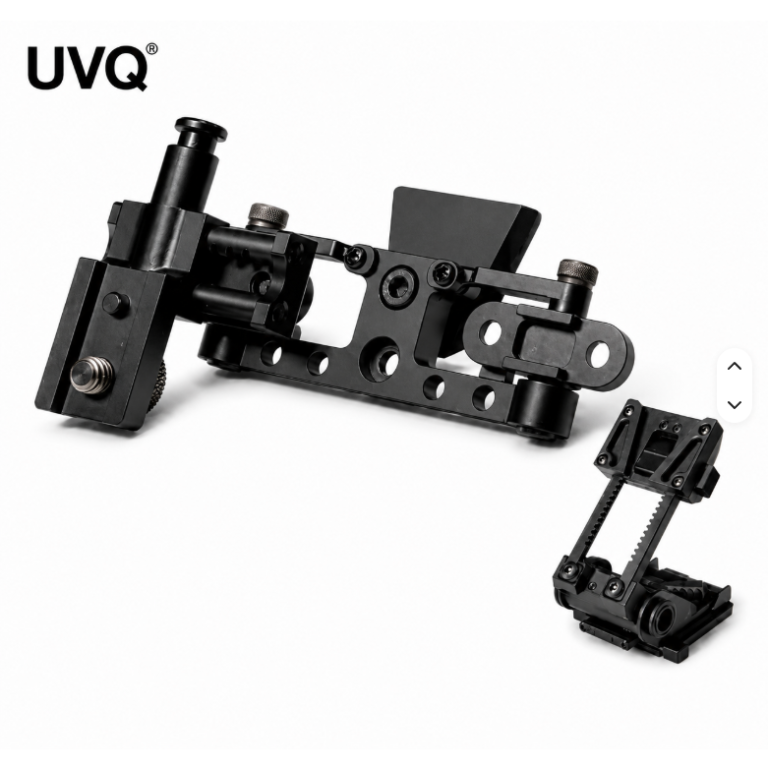
Helmet-mounted usability depends on the full system. The device, rail adapter, flip-up mount, and helmet interface should work together properly.
Compare Body Weight and Complete Setup Weight
Weight should be tested as a complete setup.
Buyers should not only check the body weight of the digital night vision monocular. They should also check the weight with accessories.
Useful weight checks include:
- Device body weight
- Weight with rail adapter
- Weight with flip-up mount
- Complete monocular setup weight
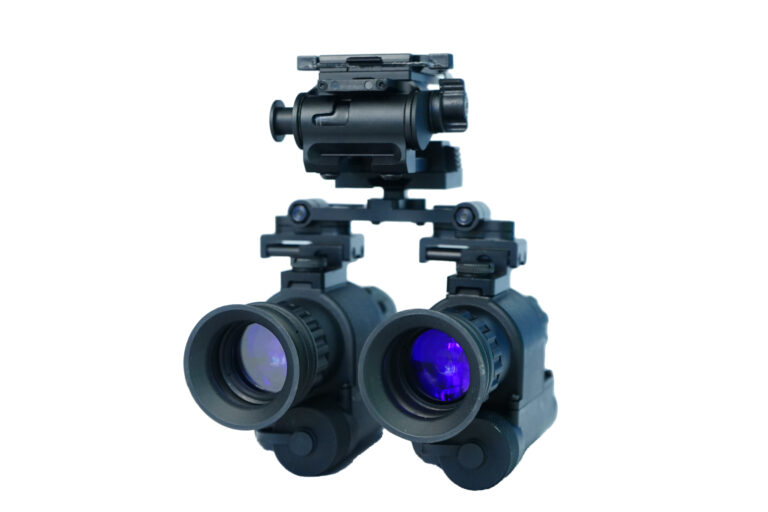
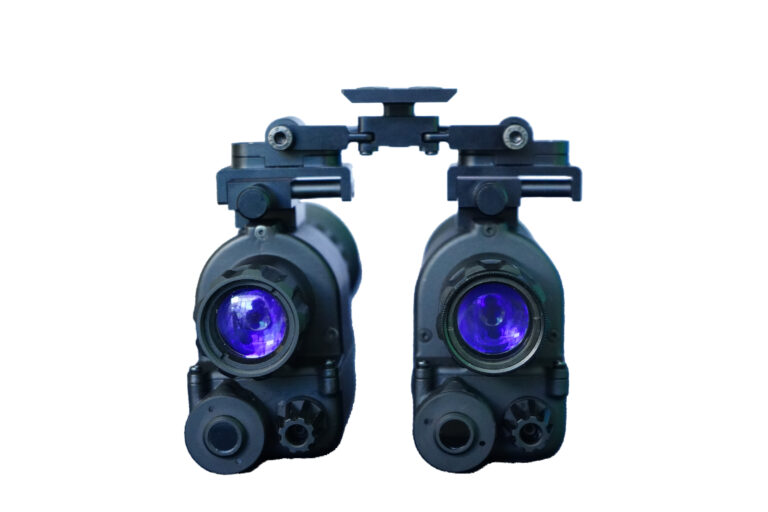
- Binocular setup weight
- Helmet balance
This is especially important for helmet-mounted packages because front-mounted weight can affect comfort during longer observation sessions.
Inspect Accessories and Package Contents
Before bulk orders, buyers should confirm exactly what is included in the sample package.
Accessory confusion can create problems during quotation, resale, customer support, and after-sales communication.
Buyers should check:
- Main device
- Rail adapter
- Flip-up mount
- Bridge system if applicable
- USB Type-C cable
- User manual
- Packaging box
- Small mounting parts
- Optional accessories
- Spare parts policy
A clear accessory list helps buyers build different product packages for different sales channels.
Check Packaging Quality
Packaging is important for B2B buyers because it affects product presentation and customer confidence.
Buyers should inspect:
- Outer box design
- Internal protection
- Accessory layout
- Label information
- User manual placement
- Storage convenience
- Shipping protection
- OEM/ODM customization options
Good packaging should protect the product and help the dealer present it professionally.
Test Data Transfer and File Management
If the device supports recording, buyers should test how files are saved and transferred.
Important checks include:
- Storage capacity
- File format
- USB Type-C data transfer
- File export process
- File playback stability
- Recording file organization
- Ease of use for non-technical users
This helps buyers confirm whether the device is practical for testing, demonstration, training, and content preparation.
Evaluate Supplier Support During the Sample Stage
Sample testing is also a test of the supplier.
During the sample stage, buyers should evaluate how clearly the supplier provides product information, technical answers, accessories, and support materials.
Useful support materials include:
- Specification sheet
- User manual
- Quick start guide
- Product photos
- Real test videos
- Accessory list
- Packaging information
- OEM/ODM options
- Quotation details
- After-sales communication process
A reliable supplier should help buyers understand the product clearly before pushing for a bulk order.
Common Mistakes During Sample Testing
Buyers should avoid testing a digital night vision monocular too quickly or too narrowly.
Common mistakes include:
- Only testing indoors
- Only checking product photos
- Ignoring IR on/off comparison
- Ignoring movement smoothness
- Ignoring complete setup weight
- Not testing helmet-mounted configuration
- Not checking recording files
- Not testing WiFi transmission
- Not confirming accessories
- Not evaluating supplier support
A careful sample test reduces risk before bulk purchasing.
UVQ G14 Sample Testing Overview
The UVQ G14 digital night vision monocular is designed for low-light observation, sample testing, dealer demonstration, helmet-mounted configuration, recording, Android WiFi transmission, and B2B cooperation.
Key features include:
- 1-inch BSI CMOS sensor
- 50/100Hz imaging
- 1x base magnification
- Digital zoom options
- Manual IR illumination
- Video recording and image capture
- Android WiFi real-time image transmission
- 32GB built-in storage
- USB Type-C data transfer
- IP67 waterproof protection
- Lightweight body design
- Helmet-mounted configuration options
- Monocular and binocular package possibilities
For dealers, distributors, and OEM/ODM buyers, the UVQ G14 can be evaluated through real outdoor low-light testing, IR comparison, movement testing, recording review, WiFi demonstration, accessory inspection, and packaging evaluation.
Digital Night Vision Monocular Sample Testing Checklist
| Test Area |
What to Check |
| Low-light imaging |
Image clarity, brightness, noise, and real outdoor usability |
| IR support |
IR on/off performance, control, and image effect |
| Movement |
Smoothness, delay, motion blur, and scanning comfort |
| 1x viewing |
Natural viewing scale and comfort during observation |
| Recording |
Video clarity, file stability, and playback quality |
| WiFi transmission |
Connection stability, mobile compatibility, delay, and demonstration value |
| Helmet mounting |
Mounting stability, adjustment, weight, and comfort |
| Accessories |
Package contents, optional accessories, and compatibility |
| Packaging |
Protection, presentation, layout, and OEM/ODM options |
| Supplier support |
Specification sheet, test videos, documentation, and communication |
Final Thoughts
Testing a digital night vision monocular before bulk orders is an important step for dealers, distributors, brand owners, and OEM/ODM buyers.
A proper sample test should include real low-light imaging, IR comparison, movement smoothness, 1x viewing comfort, recording quality, WiFi transmission, helmet-mounted usability, accessory inspection, packaging review, and supplier support evaluation.
Buyers should not rely only on product photos or specification sheets. A good sample test helps confirm whether the product can support real customer use, product demonstration, resale, and long-term B2B cooperation.
Samples are most useful when they match the configuration you intend to order. The UVQ G14 demo kit is assembled for evaluation, and the UVQ G14 digital night vision monocular is the base unit most samples are drawn from. For what to check before placing a volume order, see the B2B buyer page and the dealer explanation guide; real test footage shows the kind of evidence to ask for.
 English
  Chinese
 Spanish